Well Dweller trinkets guide
Trinkets are Well Dweller's equipment layer: 32 collectible items that grant passive perks, bought with the currency you earn from combat and challenges, or earned from puzzles and trials. Because they change how Glimmer plays rather than just adding numbers, they are the main build decision in the game — and all 32 of them compete for a single shared slot pool.
All 32 trinkets and what they cost
The catalog below is the full release roster with slot costs, effects and upgrade tiers. Tick the ones you own or plan to run: the meter adds their slot cost against your capacity, and your picks stay in this browser only.
Loadout planner · 32 trinkets
Pick your trinkets and watch the slot budget
Every trinket competes for one shared slot pool. Tick what you own or plan to run — the meter tracks your budget. Nothing leaves your browser.
0 / 20 slots used · 0 trinkets picked
Over budget — drop a trinket or buy more slots.
- 4 slots
Emits a barrage of burning embers when you take damage.
2 upgrades · 150 currency + 1 token · 70 with Queen’s Coin · short barrage → medium → long
- 3 slots
Healing also refills a flaming vessel.
- 3 slots
Gain extra currency when you are at low health.
2 upgrades · 200 currency + 1 token · 100 with Queen’s Coin · below 25% HP → below half → below full
- 4 slots
Gives a larger window for attempting to heal.
- 5 slots
Increases damage dealt when you are at low health.
2 upgrades · 200 currency + 1 token · 100 with Queen’s Coin · slight → moderate → significant
- 5 slots
Enemies create a blast upon death.
2 upgrades · 200 currency + 1 token · 100 with Queen’s Coin · small → medium → large blast
- 5 slots
Increases attack damage while in the air.
2 upgrades · 200 currency + 1 token · 100 with Queen’s Coin · slight → moderate → significant
- 4 slots
Emits burning embers while you slide.
- 4 slots
Greatly increases your vessel refill rate while at low health.
1 upgrade · 300 currency + 1 token · 150 with Queen’s Coin · at low health → below half health
- 4 slots
Healing past your max health lengthens your temporary damage boost.
- 4 slots
Refills your vessel every time you take damage.
- 5 slots
Increases damage dealt by the flaming vessel.
2 upgrades · 300 currency + 1 token · 150 with Queen’s Coin · slight → moderate → significant
- 5 slots
Enemies emit more currency.
2 upgrades · 300 currency + 1 token · 150 with Queen’s Coin · slightly → moderately → significantly more
- 5 slots
Currency increases for each enemy you kill in a row without taking damage.
- 5 slots
Increases damage dealt when at full health.
2 upgrades · 300 currency + 1 token · 150 with Queen’s Coin · slight → moderate → significant
- 6 slots
Increases damage dealt.
2 upgrades · 400 currency + 1 token · 200 with Queen’s Coin · slight → moderate → significant
- 4 slots
Refills your vessel when a flaming vessel misses a target.
- 5 slots
Reduces damage from spikes.
1 upgrade · 300 currency + 1 token · 150 with Queen’s Coin · reduced → significantly reduced
- 4 slots
Slamming the ground creates a blast of embers.
- 4 slots
Allows your flaming vessel to bounce.
1 upgrade · 200 currency + 1 token · 100 with Queen’s Coin · bounce → bounce plus damage per bounce
- 4 slots
Makes hidden passages visible.
- 1 slot
Lets you slingshot a flaming vessel using the slingshot and special-attack controls.
- 6 slots
Surrounds you in a brief protective barrier while you attempt to heal.
- 4 slots
Makes you invincible for a moment after you heal.
2 upgrades · 200 currency + 1 token · 100 with Queen’s Coin · 2 seconds → 3 seconds → 4 seconds
- 4 slots
Your flaming vessel emits burning embers before it shatters.
- 5 slots
Creates a signal when a collectible is in the room.
- 5 slots
A constant circle of spikes surrounds you when you are low on health.
2 upgrades · 300 currency + 1 token · 150 with Queen’s Coin · below 25% HP → below 50% → below 100%
- 4 slots
Increases the duration of your hover.
- 4 slots
If you do not attack for a while, your next attack is doubled.
1 upgrade · 300 currency + 1 token · 150 with Queen’s Coin · 8-second window → 6-second window
- 4 slots
Automatically uses an oil vial to heal if you would otherwise die.
- 4 slots
Creates a trail of embers when you run at top speed.
- 4 slots
Increases your attack distance.
No trinket matches that filter.
Showing 32 of 32 trinkets.
Slots are the real budget
- 50 slots is the Fifty Slots achievement threshold, not a ceiling. Looter keeps selling capacity in the tent at 250 currency each, world pickups and Spirit returns add more, and one late-game story gate asks for 80 slots.
- Most trinkets cost 4–5 slots. The cheapest is Spider's Web at 1; the priciest are Silver Ring and Silver Spoon at 6.
- Upgrading never costs extra slots. You pay currency plus one Workshop Token and the upgraded effect keeps the same slot cost, so an upgrade is always worth buying for a trinket you actually run. 15 of the 32 can be upgraded.
How to get trinkets
Three routes, and they are not interchangeable:
- Buy them in a save tent. Looter's shop sells a set of them for the currency you earn from enemies — and dying never costs you currency, so grinding for a trinket is safe.
- Return Spirits. The Full Flock chain (20 spirits) hands over trinkets as rewards along the way.
- Find them in rooms. The rest sit in the world, which is what makes Glass Eye and Rusted Compass matter for a cleanup sweep.
Returned a Spirit but the trinket is missing?
The October 2 second patch addresses rewards missed when a player left the room before collecting them. Install the update and load the affected save: the developer says the missing Spirit-reward trinkets should then be added to your inventory. Check your equipped items and inventory after loading before repeating the Spirit route or starting a new save.
The same patch fixes upgraded Melted Candle not always working and shop prices sometimes differing from the displayed price. Update before judging the upgraded effect or spending based on an old price screenshot. These are separate fixes; the reward recovery does not promise to restore every unrelated missing collectible. Official second patch.
Build advice for day one
- Before a hard boss: Blue Bow automatically spends an oil vial when a hit would kill you, and Bottle Cap stops your flaming vessel from breaking on a miss. Both are cheap insurance while you are still learning a pattern.
- Exploration sweeps: swap in Glass Eye (makes hidden passages visible) and Rusted Compass (signals a collectible in the room) before re-clearing an area you already beat.
- Damage routing: Rusty Fork (more damage at low health) and Cracked Marble (more damage at full health) are opposites — pick one and commit, because switching mid-fight wastes the window.
- One arena warning: Scrap of Fabric's airborne damage bonus is halved during the Dollmaker's Mirror fight, so an air-damage build underperforms exactly there.
Before another boss attempt
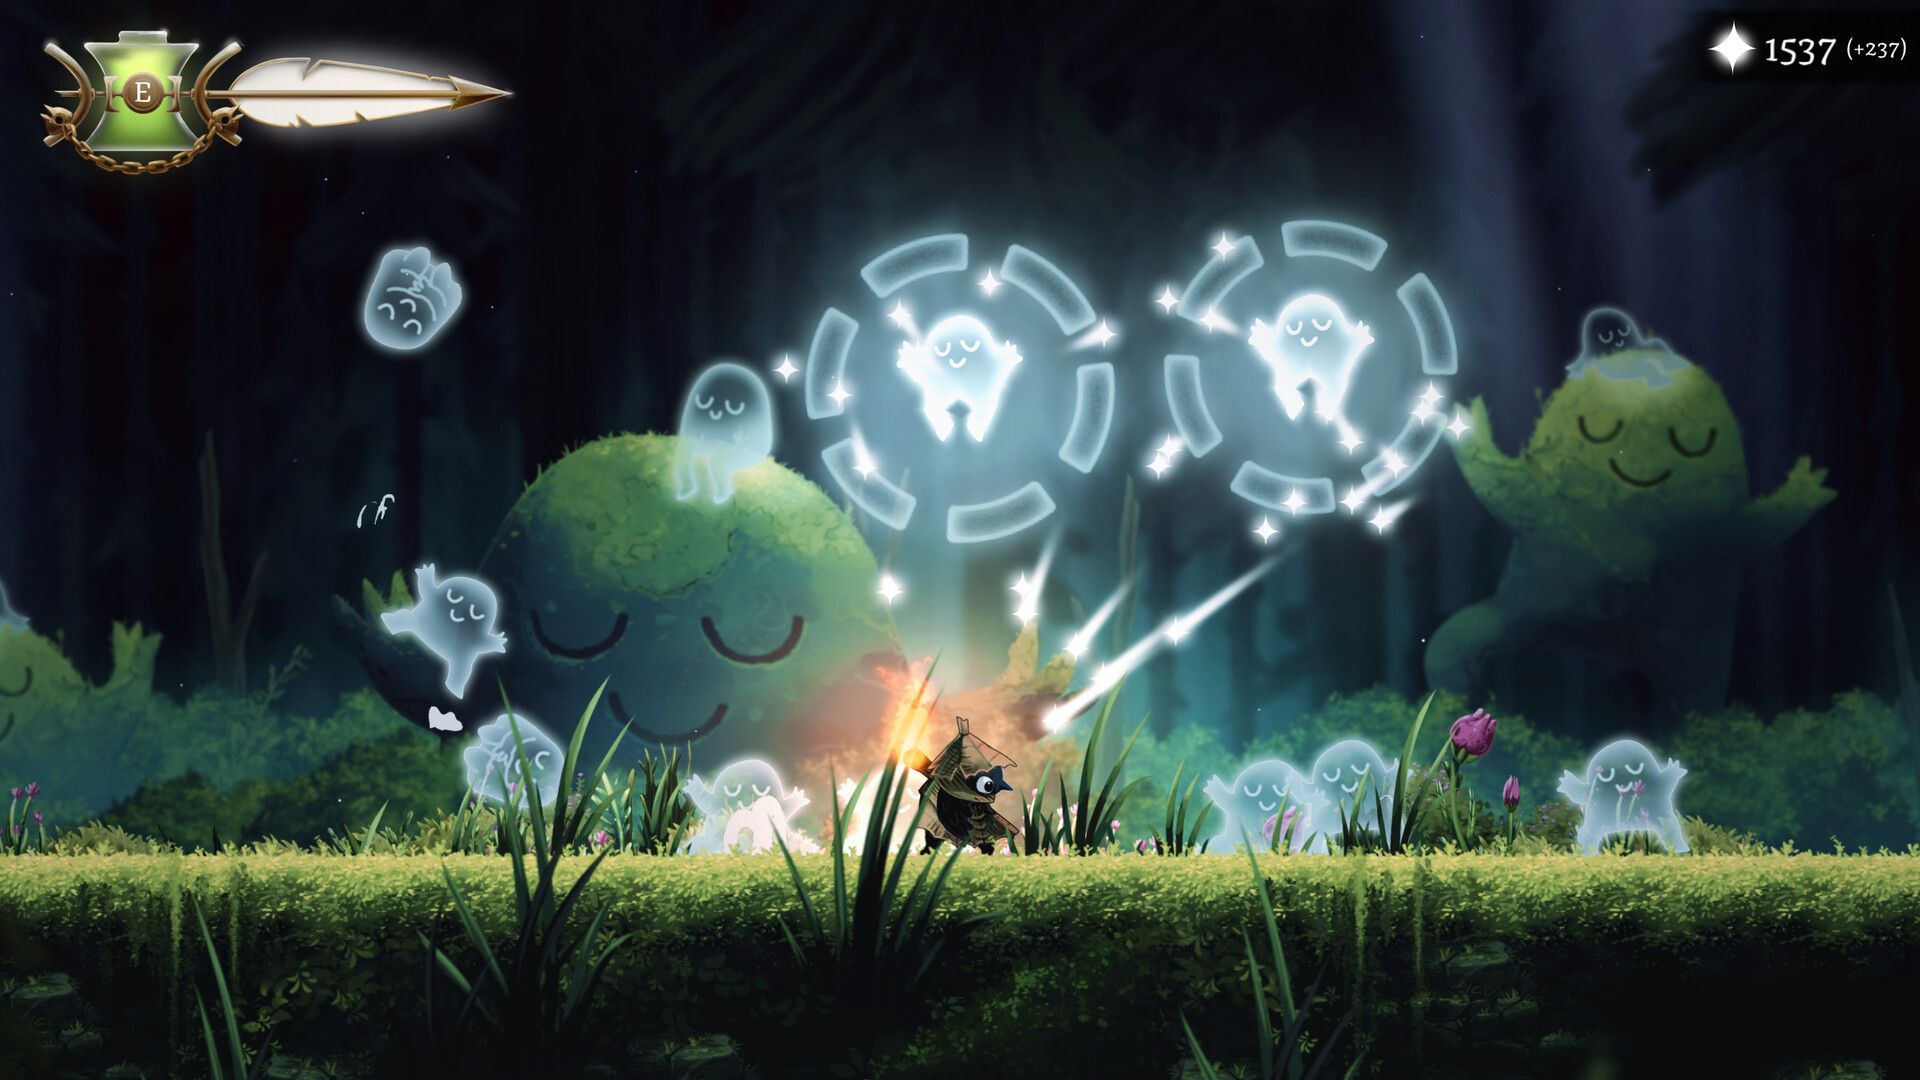
Teleporting now refills flaming vessels after the October 2 patch. Check that supply before an attempt, then choose your equipped trinkets. The refill is separate from oil-vial healing and does not replace the need to read health or the current challenge condition.
Which trinkets to upgrade first
Upgrades never add slot cost and 15 of the 32 have an upgrade tier, so the question is not "what can I upgrade" but "what deserves the Workshop Token first". Our order, and the reasoning:
- Your active loadout, boss insurance first. Blue Bow and Bottle Cap are the two trinkets that save runs while you learn a pattern — upgrade the effects you already lean on before anything that sits in inventory.
- Your damage pick, whichever side you committed to. Rusty Fork (low health) or Cracked Marble (full health) — upgrade one, not both, for the same reason you only run one.
- The sweep pair for cleanup runs. Glass Eye and Rusted Compass pay you back in time across every re-clear, so they hold upgrade value longer than one-off fight tools.
- Everything else waits. If your favourite trinket has no upgrade tier, spend that currency on capacity from Looter's tent instead — a sixth sellable slot beats an unused token.
Reference roster and current shop prices
The roster follows the release equipment reference published by the community database NiaMeowDB. Use your equipment menu for equipped slot costs and the current workshop display for purchases. The October 2 shop-price fix is a reason to read the current offer rather than assume an old screenshot is the checkout price.
Two notes before you spend
- Room locations: this catalog covers costs, effects and upgrade tiers. Where each trinket physically sits is part of exploration — the sweep advice above covers the tools that make those rooms findable.
- Second-tier upgrade price: the workshop adds a surcharge based on the trinket's position among your remaining upgradeable items, so the workshop display is the reliable number.
Found a location worth sharing? Send it through the contact page with a screenshot and we will add it with credit.
Related: all 32 trinkets in one table · beginner guide · collectibles and trials · tips & FAQ